


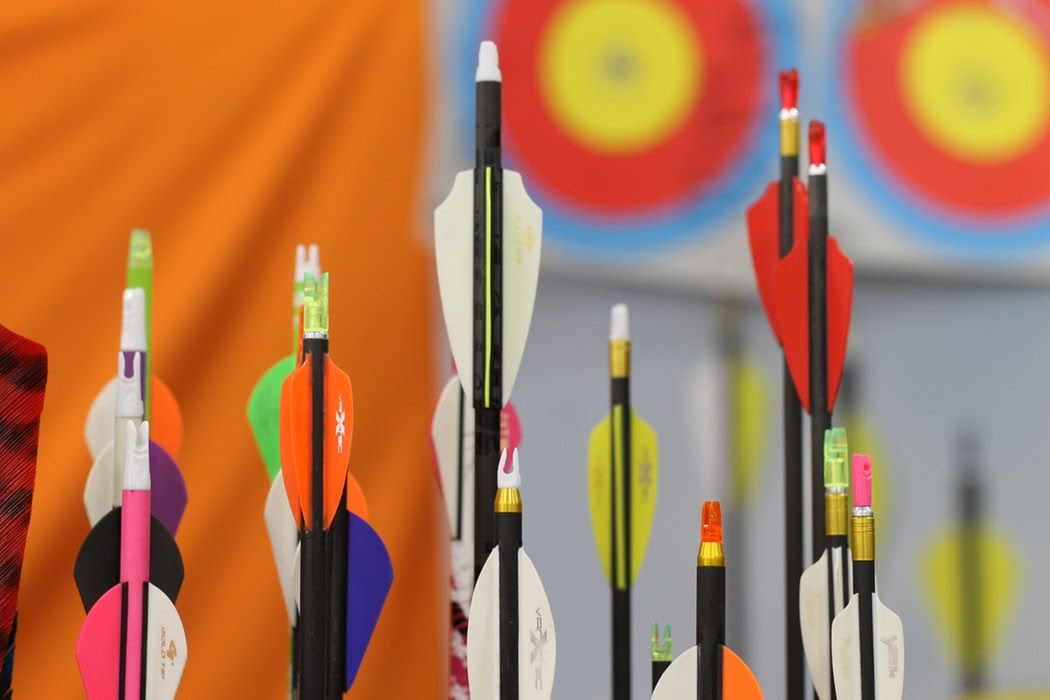
Assembling a Takedown Recurve Bow
Feb 20th 2020
The takedown recurve bow is an updated version of a classic bow design that’s been around since ancient times. Takedown bows can be disassembled and reassembled fairly easily, so they’re ideal for archers who want to be able to transport and store their equipment conveniently.
Read on to discover the unique advantages offered by takedown recurve bows, as well as tips on important steps such as assembling, stringing, and setting the nocking point on your recurve bow.
Why Use a Takedown Recurve?
A takedown recurve bow has some unique pros and cons. Compared to compound bows, they’re much more streamlined, but of course, they do require more strength to draw. At the same time, the lack of mechanisms makes them lighter and easier to carry and wield. They also require less upkeep.
Recurve bows are also a more traditional option—for better or worse. They require more practice to master, but that journey can be very rewarding. Traditional recurve bows have a fixed draw weight, which is why many hunters and competitive shooters choose to use a takedown recurve bow, as the limbs can be adjusted to the archer’s preference.
The Assembly Process

Not all takedown recurves are the same, so you’ll want to consult the instructions that came with your bow. Here’s what the assembly process typically looks like:
- Attach the limbs. The first step is to simply attach the two limbs to the slots on the riser. Most bows screw in. Ensure the tops of the limbs curve away from you.
- Install the rest and plate. The arrow rest and arrow plate are the pieces that protect your takedown recurve bow from damage when you draw an arrow. They also help to keep your shots quiet. Consult the instructions for specific details on how to install them on your bow.
- String the bow. Now that your bow is put together, it’s time to string it. Your bow should have included a bow stringer and instructions on how to use it. The stringer puts tension on the bow, bending it into a position that allows you to apply the string.
- Let it rest. After attaching the string, it’s best to give your bow some time for the string to stretch out. If you’re in a rush, you could take a few shows to break in the string.
- Tune the brace height. Your bow should have included ideal settings for your brace. Start there, take a few shots, and adjust the brace on your takedown recurve bow as needed.
- Set the nocking point. Finally, before setting the nocking point on your recurve bow, it’s important that your string has had time to fully stretch out. If you try to set the nocking point on a brand new string, its position will change as the string stretches.
Upgrade the Stock String
One of the best ways to upgrade your bow right out of the box is to install a custom recurve bow string. Here at 60X Custom Strings, we’re famous for our exceptional quality strings that deliver incredible performance. We also offer unique color combinations so you can give your takedown recurve bow a customized look. As always, we encourage you to contact us if you have any questions. Don’t forget to check out our Bowstring Blog for more informational articles and how-to’s!