


European Deer Skull Mount Ideas for an Awesome Trophy Display
Posted by Edmundo Martinez – 60X Staff Shooter on Sep 3rd 2025
Key Takeaways
- Making a European deer skull mount involves four steps: skinning, boiling, whitening, and drying.
- Use a sharp paring or boning knife to remove as much flesh and meat as possible.
- Simmer the skull for at least 4-5 hours.
- Whiten the skull by soaking it in 40% hydrogen peroxide for as long as needed.
- Dry the skull in the sun for a few days before mounting.
- You can find specialized mounting hardware available online.
Have you ever wanted to display your hard-earned archery harvest, only to change your mind due to the high cost of taxidermy fees? Well, all is not lost. There is an alternative, one that you can do yourself at very little cost and with very little work: a do-it-yourself European skull mount.
I’m sure you have seen what I am talking about. It’s the fleshed and whitened skull of whatever game was harvested, be it from a mule deer hunt, a white-tailed buck, pig, bear, or any other game. Take a look at our European deer skull mountprocess, ideas, and tips.
First, here are answers to common questions.
FAQs
How do you make a European skull mount?
There are four steps in the process: skinning, boiling, whitening, and drying. We’ll cover them all in detail in this blog!
How long to boil a deer skull for European mount?
You can simmer the deer skull for around 14-15 hours, but a quicker 4-5 hours should also do the trick.
How to whiten a European skull mount?
Soak the skull in 40% hydrogen peroxide until your desired whiteness is achieved.
How to mount a European skull mount?
The easiest method is to use specialized brackets that secure the skull to a wall, plaque, or other backdrop. The mounting hardware is available online. Feel free to get creative with different European deer skull mount ideas if you don’t want to use purpose-designed mounting hardware.
For example, some hunters simply attach a 4-inch screw to the backdrop and slide it on through the natural hole in the back of the skull. You could also use wire, fishing line, or even a picture hanging kit. You may be able to do a do-it-yourself European skull mount with items you have at home.
The 4-Step European Skull Mount Process
Now that you’re familiar with the basics, let’s dive deeper into how you make a European skull mount.
1. Skinning
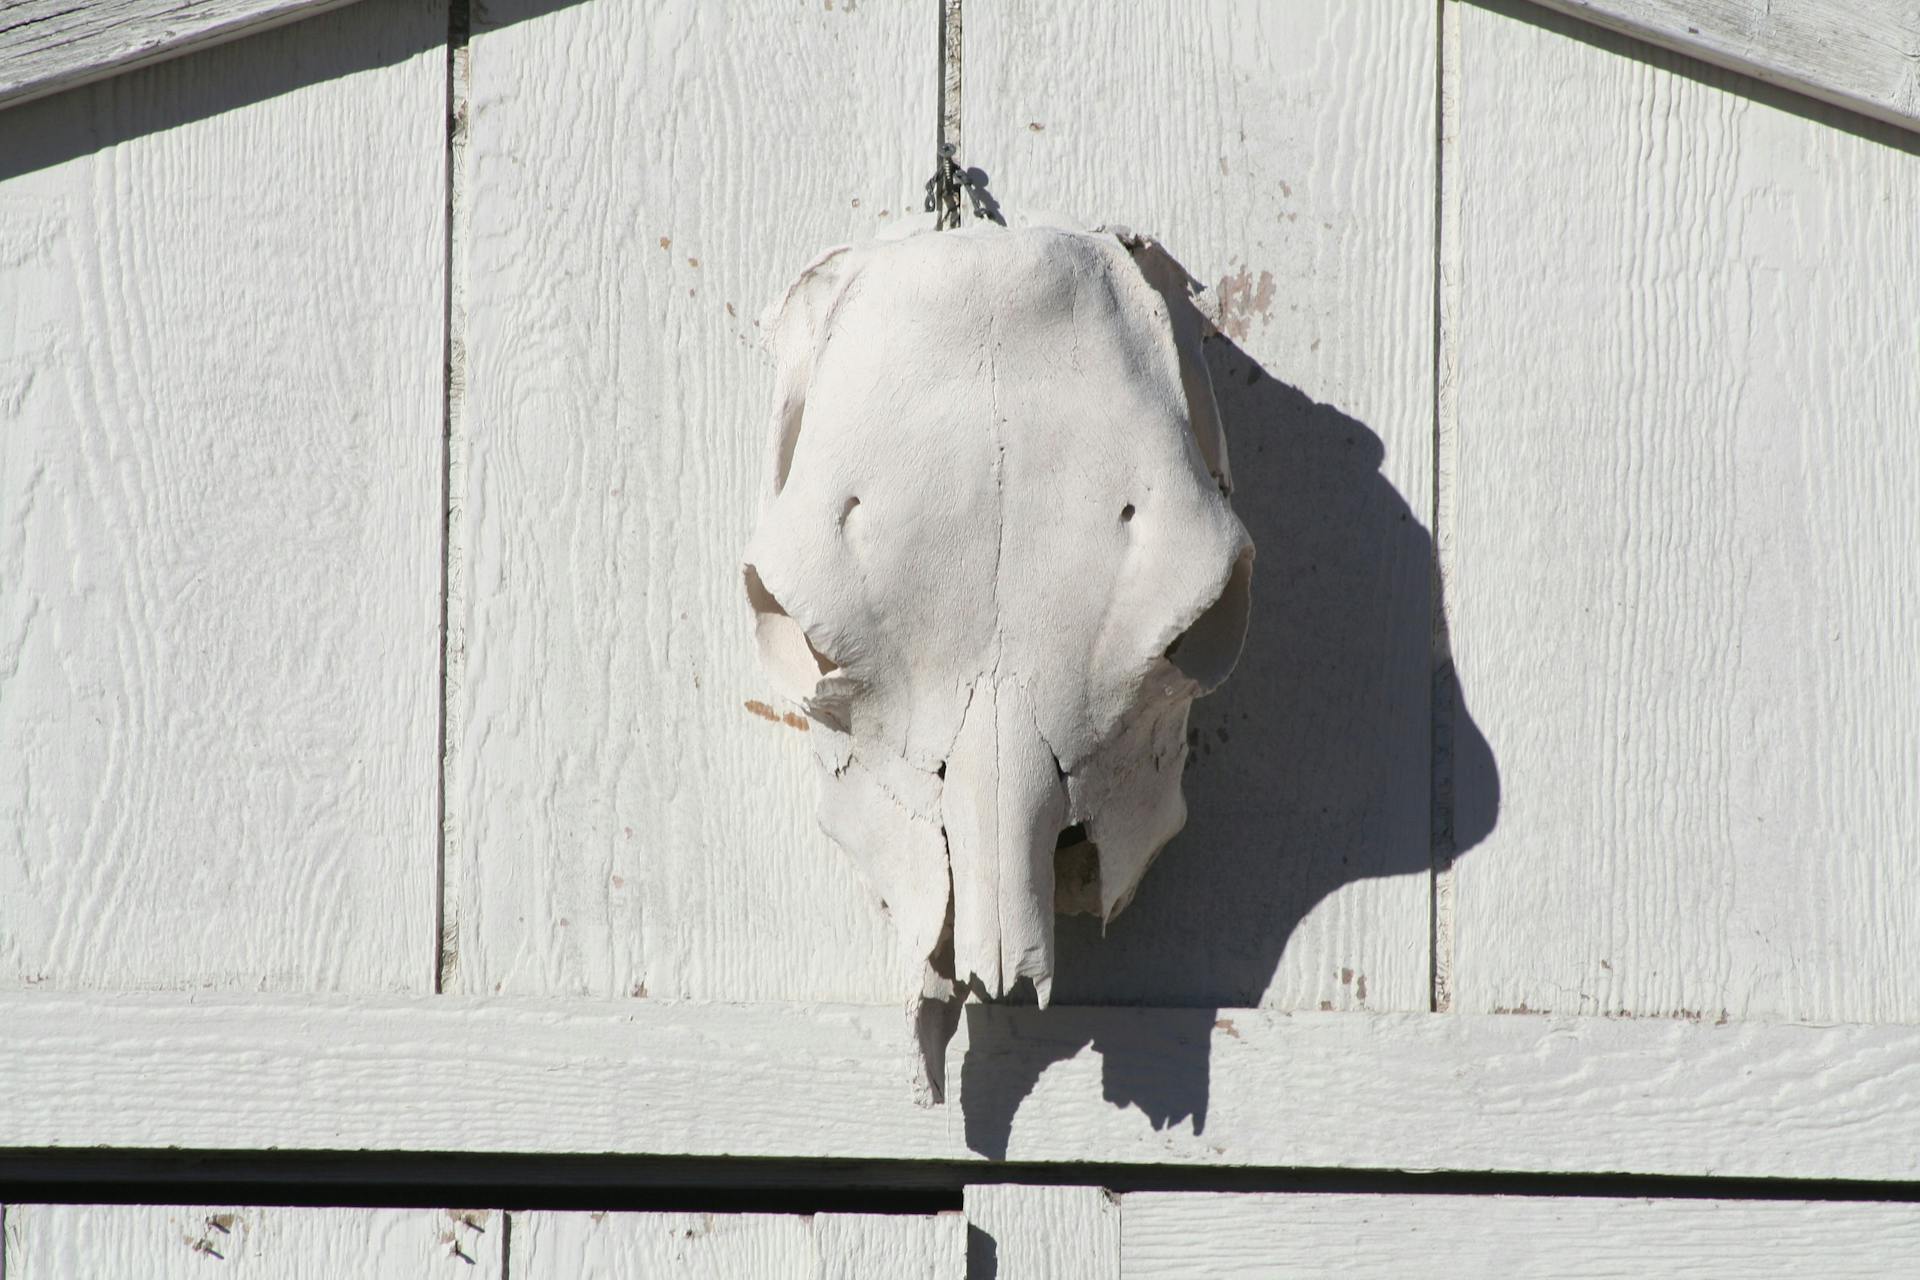
Step one is skinning, which is the removal of the skin. This is the most tedious and labor-intensive part of the process, so use the time to brainstorm different ideas for how to mount and display your European deer skull.
Although it’s time-consuming, the good news is that you can’t go wrong with this step of the project. All you need is a sharp paring or boning knife. You can damage the hide all you want because you’ll end up throwing it away. Simply use the knife to remove as much flesh and meat from the skull as possible.
You can skip this step if it makes you queasy, but the time you save during this process will be lost in the boiling process.
2. Boiling
The next step is to boil your mount. You’ll boil everything out of your harvest, leaving only the skull that will be used to bring your European deer skull mount ideas to life. You’ll need a few items to complete this process:
- A pot large enough to accommodate the head
- A heating method to bring the water to a gentle boil
- Optional: I like to add three to four tablespoons of dishwashing detergent with a reputation for cutting grease or fat.
The longer you boil the skull, the easier it is to remove all of the flesh. I typically simmer it for 14 to 15 hours, but this can be done in several stages. Once you’ve simmered it for the desired length of time, you can spray it with a jet stream of water from a hose. This is one of those European deer skull mount ideas that often goes overlooked, but it makes a big difference in cleaning up the skull so it’s ready to be made into a do-it-yourself European skull mount. Make sure you spray into the nooks and crevices to remove any residual tissue.
Pro Tip: When discarding the water and flesh from the boiling water, take special care that you do not throw away any teeth that may have fallen out.
3. Whitening
For the whitening step of the European skull mount process, I recommend using hydrogen peroxide purchased from a beauty supply store. I use the 40% version because it’s the highest concentration that can be sold to a non-licensed beautician (this may vary by state). It comes in two forms: slurry and clear liquid. Both work great for ensuring that your European deer skull mount ends up looking like it was done by a professional.
The amount to use depends on the size of your pail and the size of your project. The more you use it, the faster it works and the whiter your project will be. Simply soak the skull in the whitening solution until you’re satisfied with the results. Just like during the boiling process, be careful when draining the whitening solution. The whitening process may have dislodged some of the teeth, and you’d hate to lose them.
Pro Tip: Dislodged teeth can always be reattached with any glue available. Also, the industry discourages the use of Clorox, as it tends to be too harsh and eats into the bone. Don’t ruin your do-it-yourself European skull mount by trying to take the easy way out!
How to Avoid Whitening Antlers
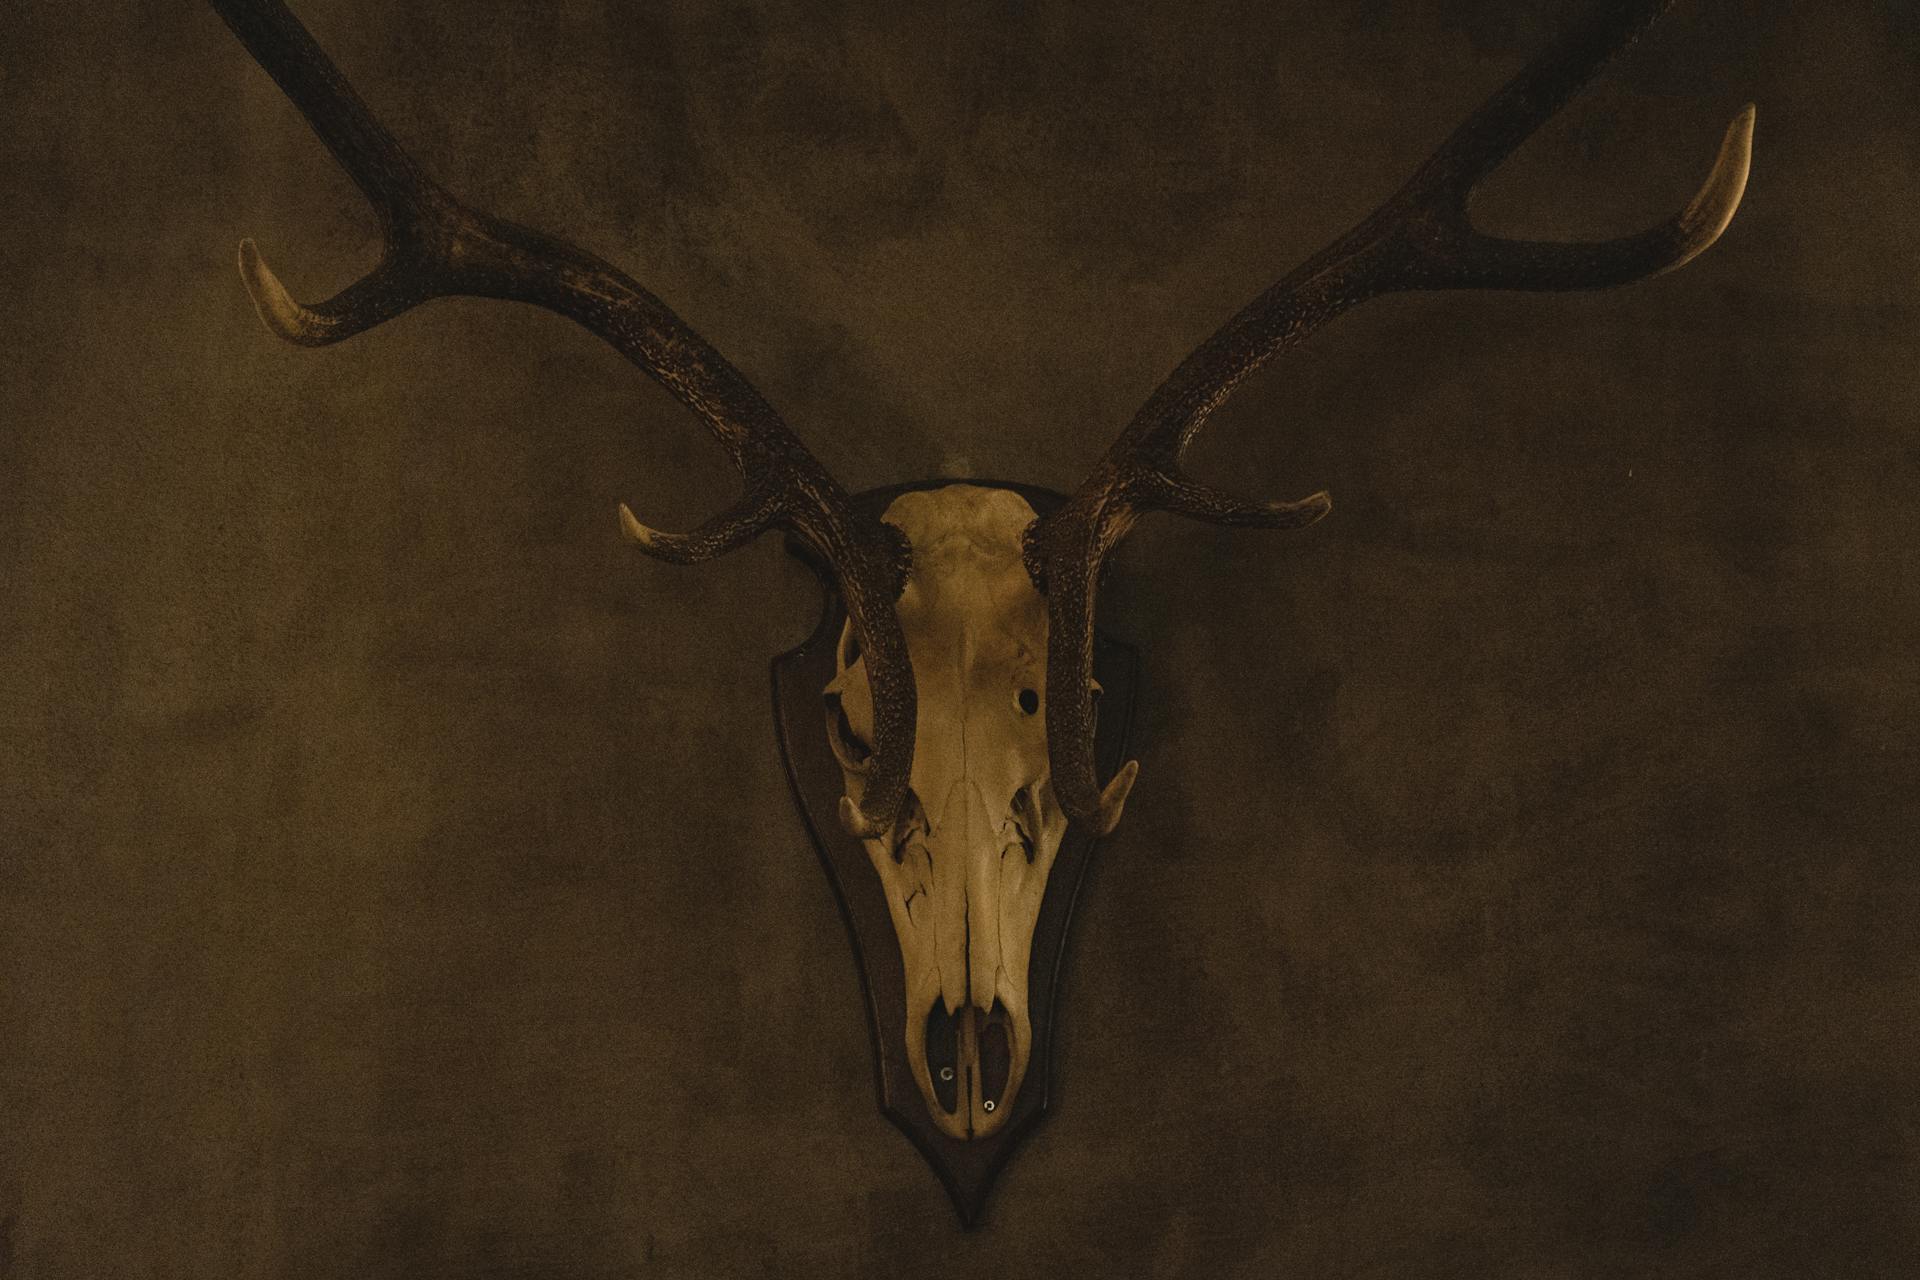
When placing the skull of the European mount in the whitening solution, take caution if the harvest has antlers. You don’t want any portion of the antlers to become whitened. To stop this from occurring, wrap the bases of the antlers as close as possible to the rest of the project. I like to coat the antlers and bases with some automotive axle grease followed by plastic, and lastly, some adhesive tape.
With that said, you can skip this step if your European deer skull mount idea involves whitening the antlers, too. Just be aware that the antlers will be two-toned and won’t have a natural appearance.
4. Drying
The final process is the drying of your trophy. I like to use what Mother Nature provides for us: the sun. I place the head where it will encounter as much sunlight during the day as possible. I do this for several days to make sure it ends up completely dry. The sun’s rays also provide natural whitening properties. Make sure to keep the antlers wrapped during this process so they don’t become discolored.
European Deer Skull Mount Ideas for Display
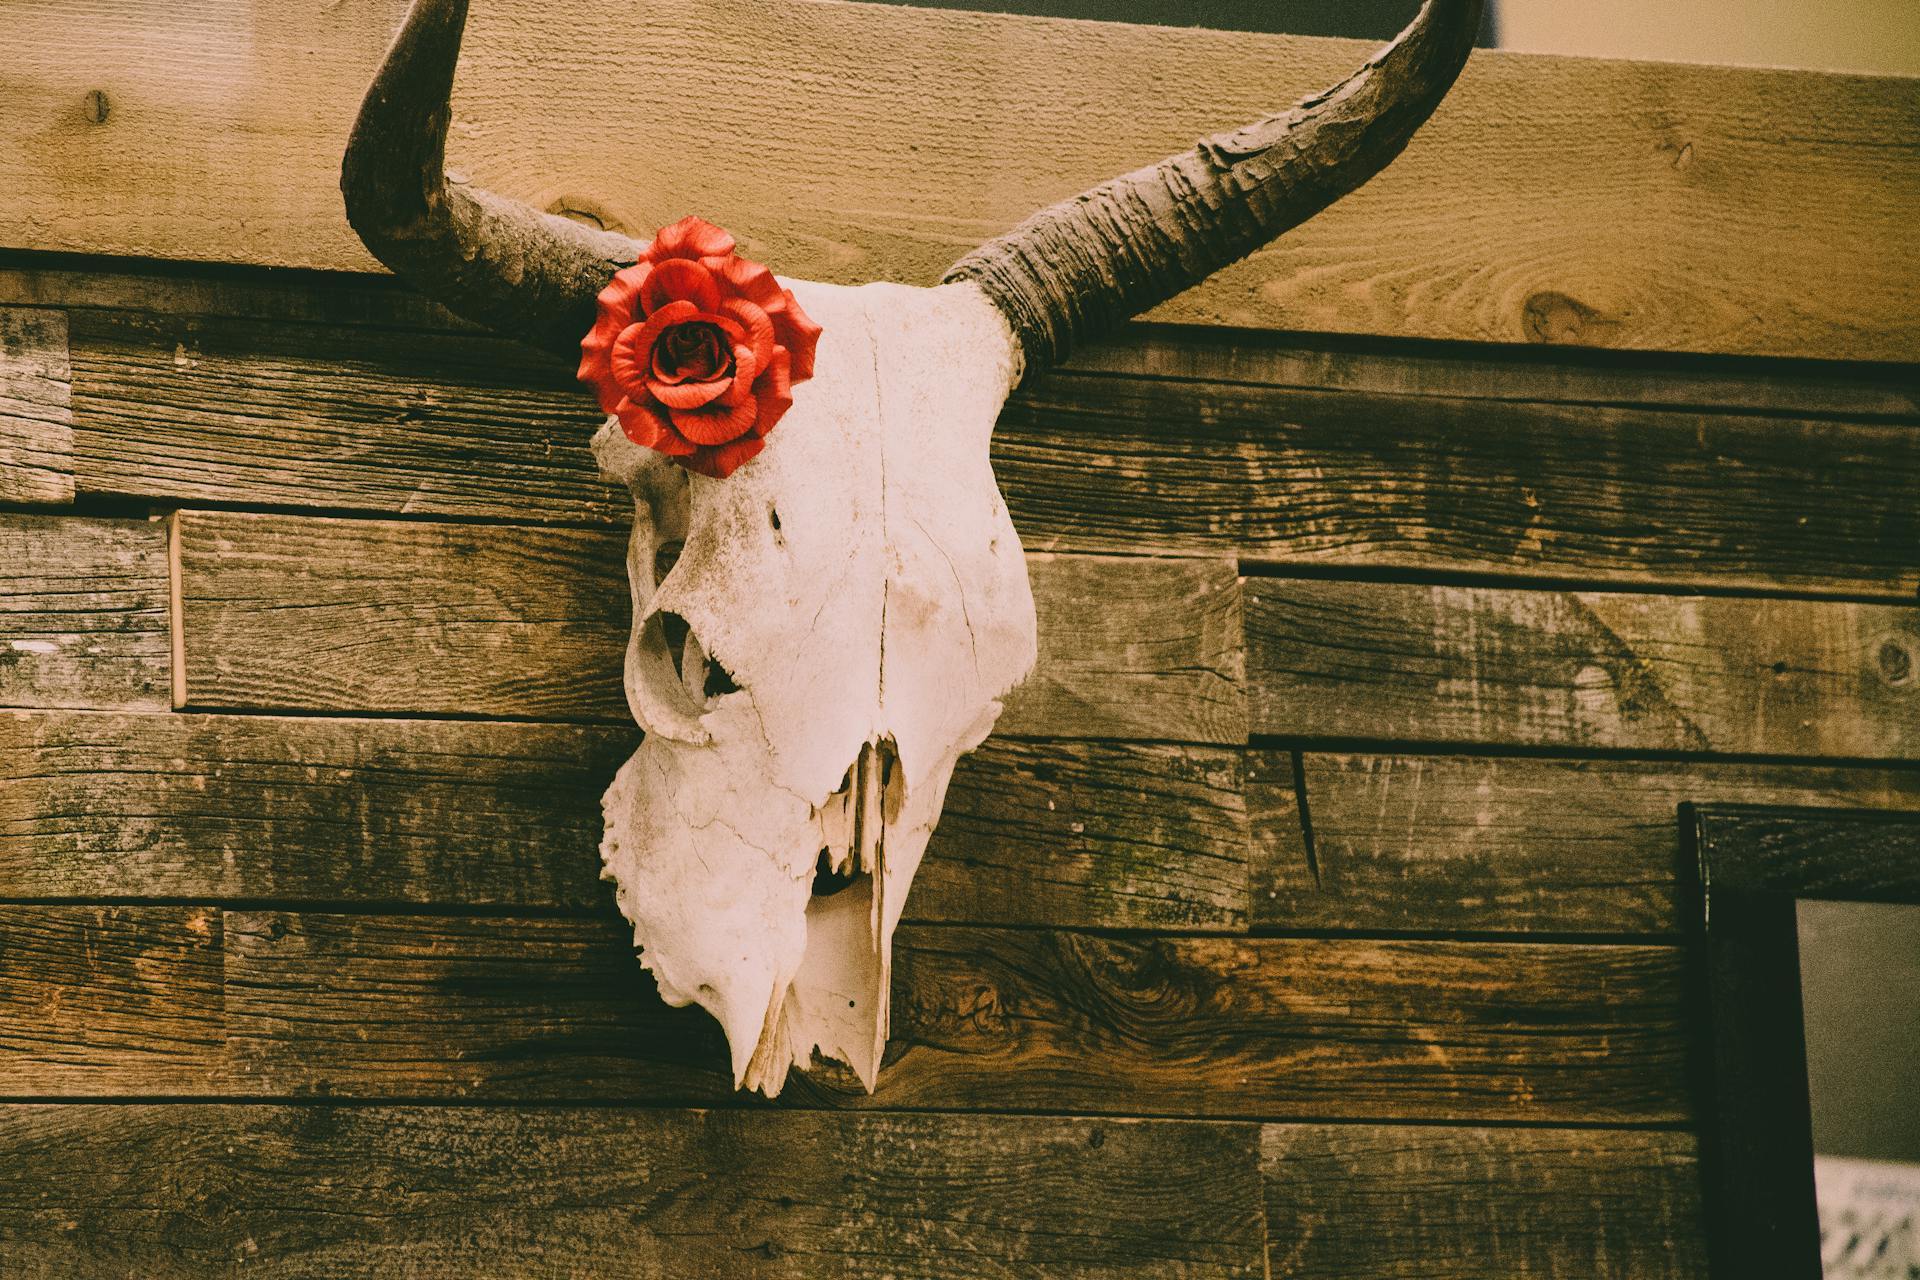
Once you’ve finished the four-step European skull mount process, you can focus on how you’ll display your mount. You’re limited only by your imagination. You can place it on a wall (mounting hardware available online), on a pedestal, or on wall décor.
You can even decorate your project. There are archery celebrities who make lots of money decorating skulls with paintings or colored beads. How you choose to make a European skull mount is your call! Feel free to get creative with your do-it-yourself European skull mount if you want something less traditional.
Enjoy the Process
I enjoy coming up with ideas for different European deer skull mounts, and I am proud to display not only my harvest, but my handiwork. I’m confident that you’ll feel the same throughout the process. I hope this guide is helpful as you embark on a fun and rewarding journey.
While you’re here, get ready for the next hunt with a bow string upgrade. We can build you custom compound bow strings, crossbow strings and cables, or even a recurve bow string. Our pre-stretched bow strings are individually built by multi-world and national champion archer, Brad Patsy, so place your order with 100% confidence.
Follow our bow string blog for more hunting and archery content. Enjoy the process of bringing your European deer skull mount ideas to life!