


Replacing Bowstring and Cables on a Mathews Halon
Posted by Jerry Osborne on Jun 21st 2018
Maintenance and upkeep are very important when it comes to keeping your Mathews Halon bow in good condition. The bow strings and servings of a bow can wear out after time, and eventually you will want to replace them. But what happens when you have absolutely no idea where to even begin? We’re here to guide you, with help from Jerry Osborne.
Note: This process will work with any 5-piece Mathews bow set, including the Monster Series, Chill’s, Halon’s, Wake, and Triax.
Replacing bow string and cables of your Mathew Halon is fairly simple actually. All you need are a few items to get started.
Items you’ll need:
- Serving thread
- Quality bow press
- Tape measure
- D-loop material
- Allen wrenches
- A set of 60X high quality bow strings & cables
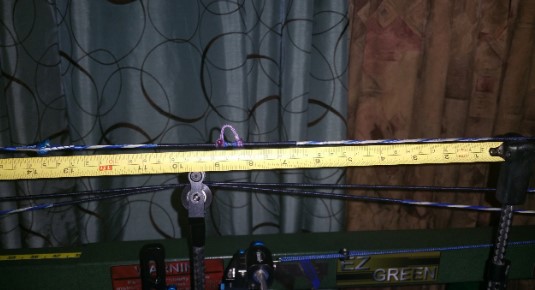
Before you start to disassemble any old bow strings and cables, you’ll want to make sure that you jot down the location of everything on your string (ex: kisser button, nock points and peep). This will make the replacing bow string much easier for you.
Now, remember the most important measurements are from your nocking point to your kisser and or peep sight. If you measure off a fixed point on your bow to the nocking point, just know that it may not go back to that exact point. The reason for this is that the bowstring and cables you’re replacing are more than likely stretched, along with the bow possibly being out of spec and/or out of time.
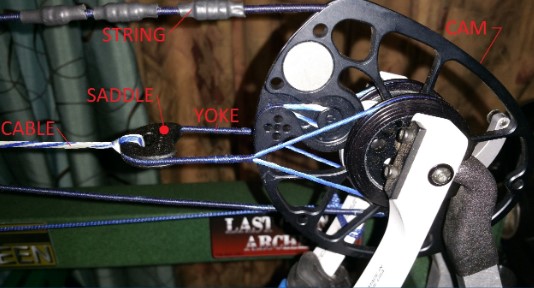
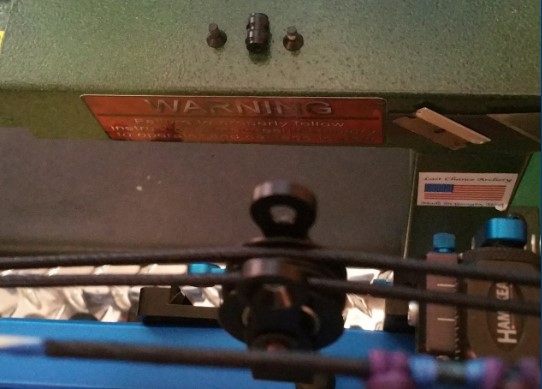
Below is an image that lets you know the names of each part of your bow that will be mentioned while replacing bow string. Let’s get started!
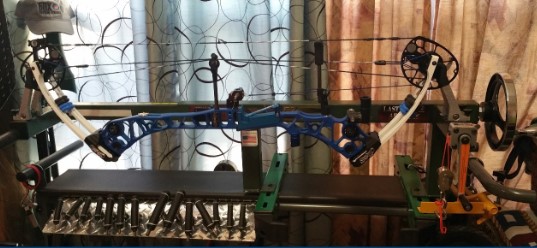
Step 1: Pressing the Bow
To aid in pressing the bow, all Mathews bows have limb brackets installed. To take pressure off of your bow strings, make sure your press fingers are in the limb saddles and clamp the bow.
Step 2: Remove the Cable Roller Guide
First take notice of the orientation of your cables so you can easily reinstall them in the same manner when replacing your bow string and cables. Use two allen wrenches (one on each side) to remove the cable roller guide, then you can set this aside.
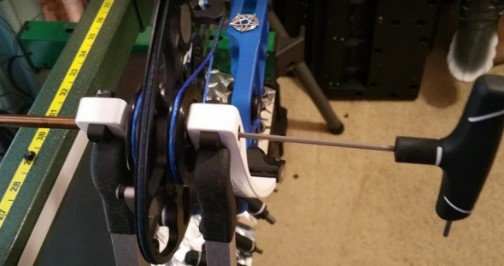
Step 3: Remove the Cam Axle
Remove one axle screw and washer. Use an allen wrench (or a similar tool) to push the axle out of the limbs and cam. *Take note of the placement of your Top Hat spacers prior to removing the axle in case they fall and need to be replaced. With the cam out of the limb, you can remove the bow string, yoke and cable. Inspect the bearings.
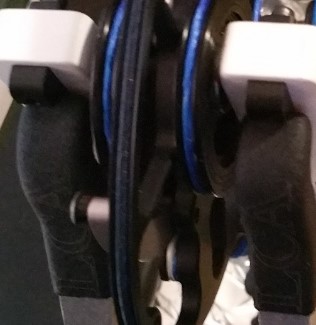
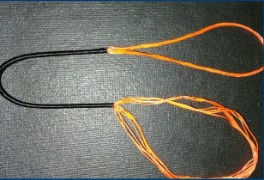
Step 4: Install Yoke on Cam Hubs
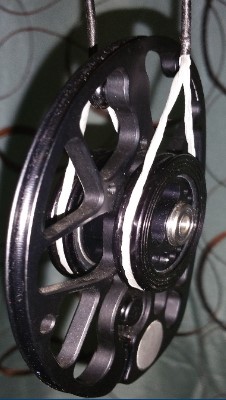
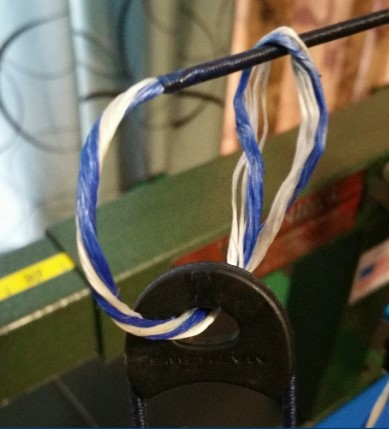
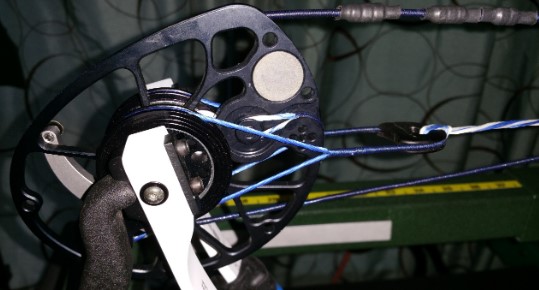
Before installing the yoke on the cam, twist the yoke loops to get an even smooth loop without loose strands. Simply rolling the loop in your fingers is the easiest way to achieve this. While replacing bow string isn’t mission impossible, small details such as this step makes a massive difference in the final result. In the picture below, you can see the top loop has been twisted and the bottom loop has not.

Step 5: Install Cam
Now that both loops of the yoke are installed on the cam hubs, place the cam back into the limb. You can then slide the axle back into place. Re-install the washer and axle screw to secure the axle in place. Once you’ve done that, double check your Top Hats to be sure they’re in the correct location.
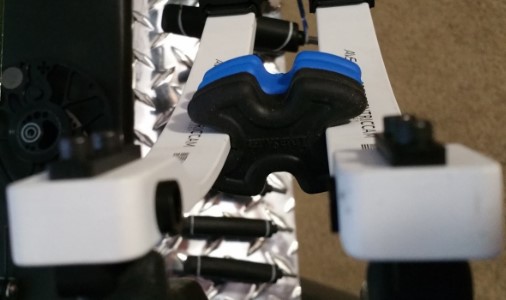
Step 6: Install Saddle and Cable
Place a saddle into the yoke loop and press the cable into the saddle to secure in place. Then, feed the non-served end of the cable through the opening in the yoke and pull the cable through the loop.
Give a tug on the cable to secure it around the yoke. Take your time with this so that it is smooth and flat around the yoke.

Run the reverse end of the cable through the cable guide to the other cam and attach to the lower cable post.
Step 7: Repeat Steps
Repeat steps 3-6 for the other cam, yoke and cable. Don’t worry, we’re almost finished replacing our bow string and cables.
Step 8: Install String
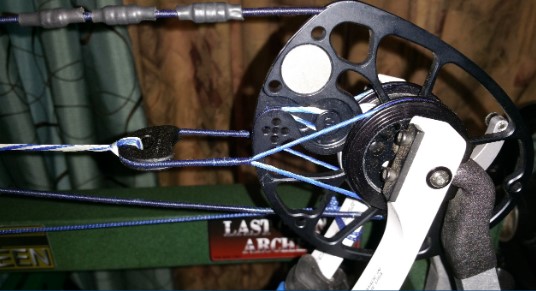
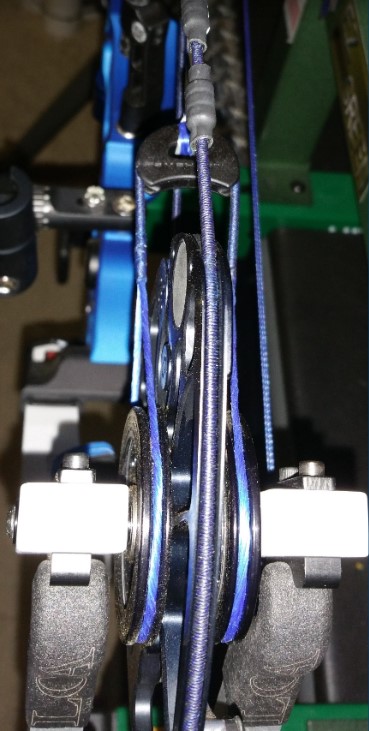
This step must be done very carefully. Place the end of the string that has the peep tag towards the top. Then, loop your string around the cams in the channels and place the end loop over the string posts. Once you have finished that, double check that every bow string and cable loop is securely on it’s peg. After replacing the bow string, check that the string, cable and yoke are placed in the proper cam grooves. Pull up on the string to keep everything under tension and in place while releasing pressure from the bow press.
Step 9: Install Cable Roller Guide
Make sure that the cables are in their proper roller position and use two Allen wrenches to replace the cable roller guide.

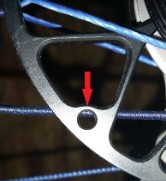
Step 10: Check Timing
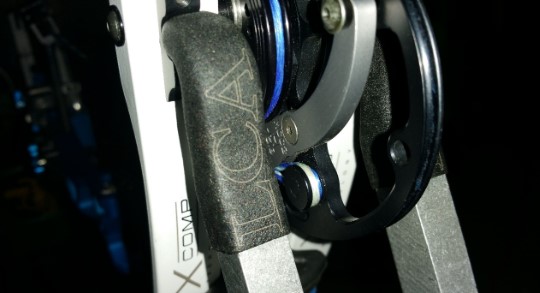
This can be done by looking at where each cable runs past the hole in the cam. If these are not equal, you will need to adjust by adding or removing twists to the cables. This will get your timing very close but for best results the final timing will be done at full draw after the nocking point is installed. Just one more step ahead will complete the process of replacing bow string and outdated cables.

Step 11: Finish String
We’ve reached the final step of replacing bow string and cables on a Mathews Halon. Tie the nocking points, peep, and d-loops into the new string using the measurements you took prior to step one. Start with the nocking point, and once you have that done you can draw the bow to check the timing, making any adjustments needed.
Once timed, fire the bow through paper, moving the nocking point and/or rest until you get a clean hole. From there, install your kisser and peep sight to the measurements taken from the old string.

Job Well Done
Your bow is now ready to shoot! It is recommended that you shoot around 150-300 arrows with your new strings to make sure everything is settled. At any point, you can re-check your timing and make any necessary adjustments. To get your peep rotation correct, you are now able to add or remove twists in your string. You have successfully completed the steps of replacing the bow string and cables on your bow, it’s now time to enjoy them.
For more high quality products to enhance your new setup, take a look at our supplies, closeout cables, and accessories to create the bow that will suit your upcoming season.
Happy shooting!